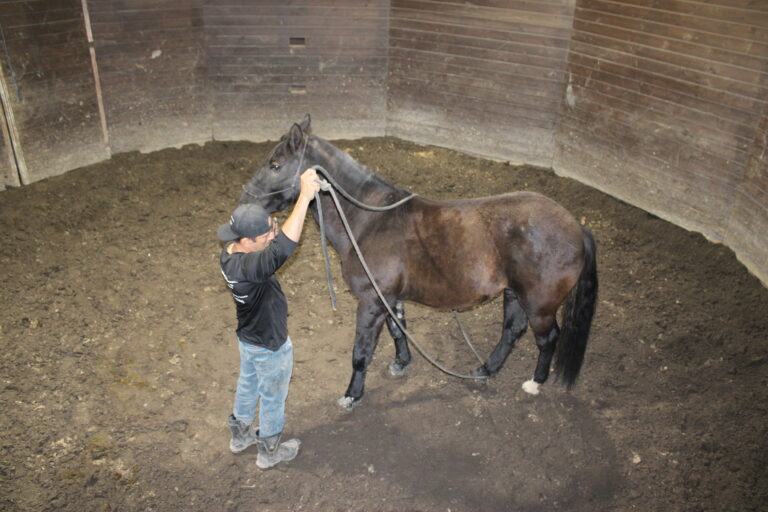
Consent-Based Haltering (First Touches to First Buckle)
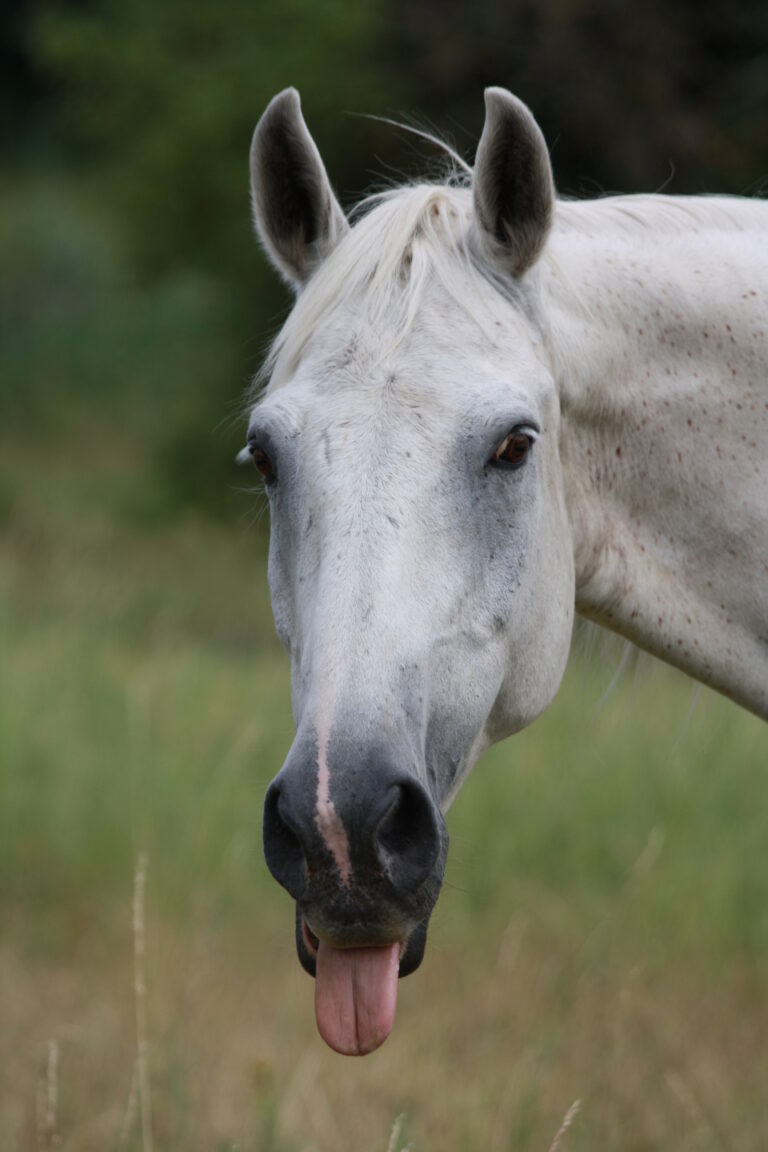
There’s a moment in mustang work where everything gets quiet and your mustang is standing there thinking, and you can feel the decision happening behind liquid chocolate eyes. They begin to realize that they aren’t trapped; they can say no, and they can even leave instead of doing what’s being asked.
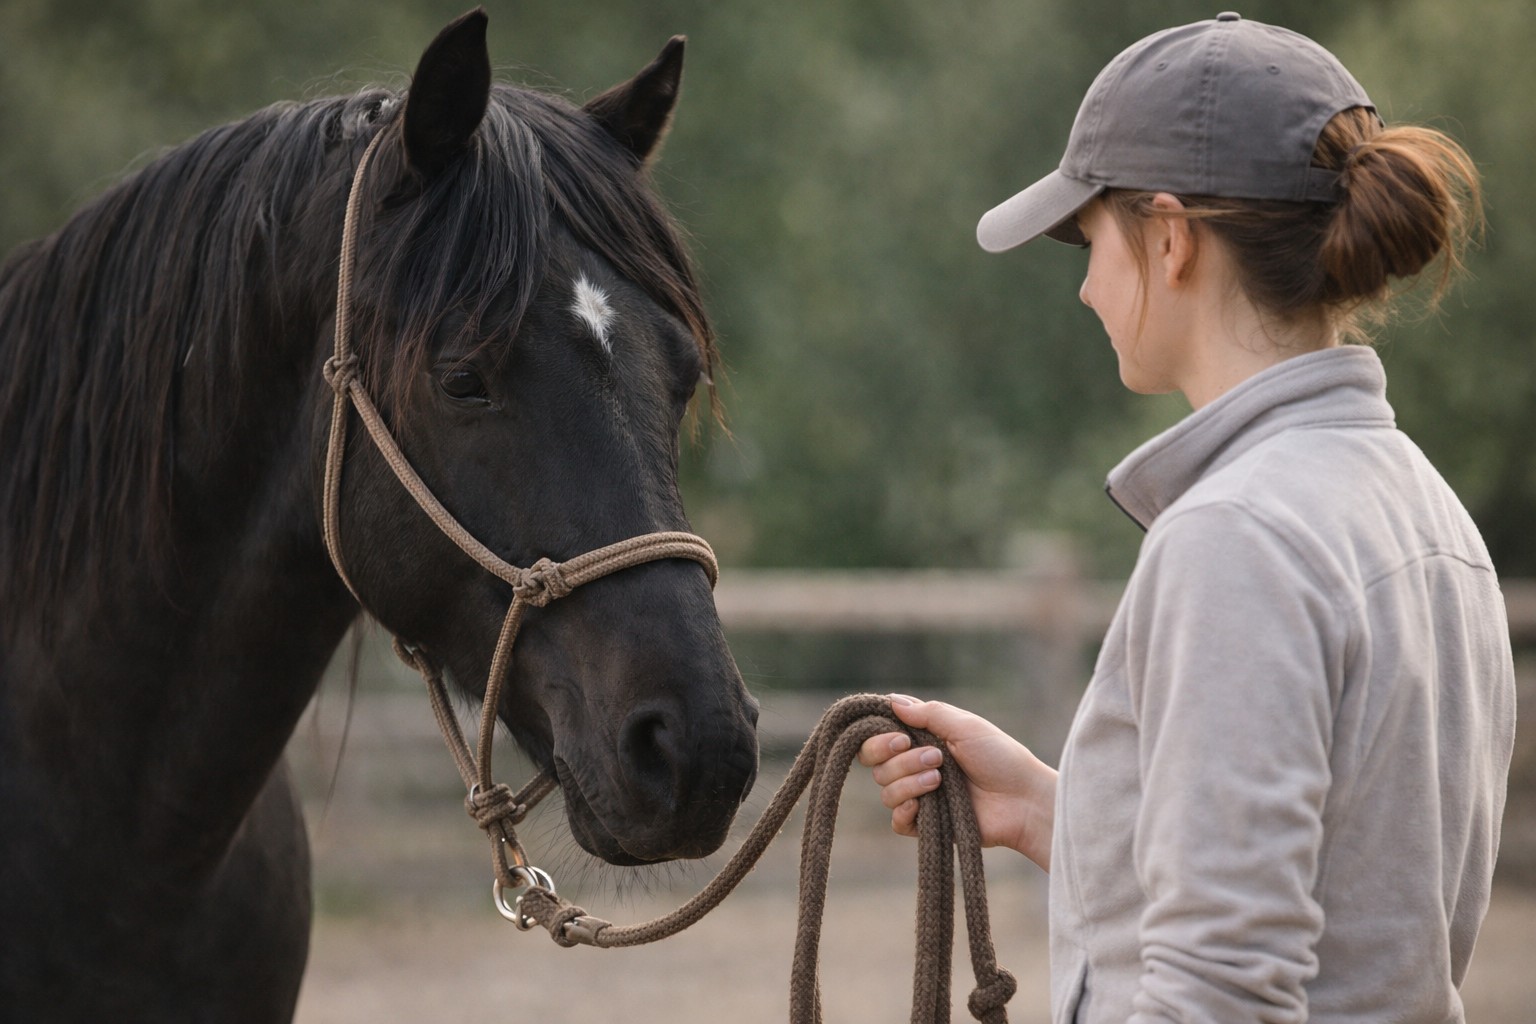
That’s the moment I’m after when I say consent-based haltering. Not because a halter is magical, but because it is a symbol of access. It is the first time we ask a wild-born horse to allow us to influence the head and neck, the place where flight lives. If we rush it, we might get a halter on, but we often lose something we cannot afford to lose. Trust.
So this is the way the trainers I admire most do it. First touches to first buckle, with the horse’s yes built into every step.
What consent means here
Consent-based haltering does not mean the horse enjoys every part of the process. It means the horse has agency, understands the ask, and we are working inside a threshold where he can choose to participate or not.
Consent looks like a horse who stays instead of leaving. It looks like a horse who softens and returns after a pause. It looks like a horse who might leave, but comes back because they are curious and realize they are not being pressured.
Consent also includes not yet. A horse is allowed to say no without being punished for it. A no is information, not disrespect, and we never punish the no. We work with it to make the horse more comfortable and curious.
At the same time, consent does not mean we never ask for anything hard or ignore unsafe behavior. It doesn’t mean we stop teaching skills and call it patience. This is still training, but training that respects a simple truth that a horse that feels trapped will eventually fight the trap.
Before you start
Before haltering becomes a lesson instead of a fight, two pieces need to exist. First, you need a reset that actually resets. That is your “we’re-good” pattern, the thing that brings your horse back to thinking. For many of us, it is a familiar target, a consistent food delivery spot, a predictable release, and a short pause where nothing is demanded. Without that, haltering turns into a wrestling match that you cannot win, and that your horse dare not lose.
Second, you need one simple yes behavior you can return to when the ask gets hard. That might be nose to target, a head-lowering cue, a muzzle touch to your hand or an object, or simply standing quietly for one second. You will use that yes behavior like a trail marker. When things wobble, you go back to the last marker you both recognize.
A quick note on rewards. Every horse is different, and some cannot be fed rewards lest they become food agressive. I’ve personally never met those horses, but I’m told they exist. There are also horses who cannot be fed rewards due to metabolic issues. Both those types of horses will need to be rewarded without food. Releases (step back, praise, pets (not pats), and scritches, all make fine rewards for the horse that cannot be given food rewards. Personally, I use sliced carrots, and rarely, sliced apples. I never, ever feed whole apples or large sections of carrots for one simple reason: horse can choke on them too easily. I’ve also used small bits of alfalfa hay, when introducing consent-based haltering, or even when starting with consent-based touch.
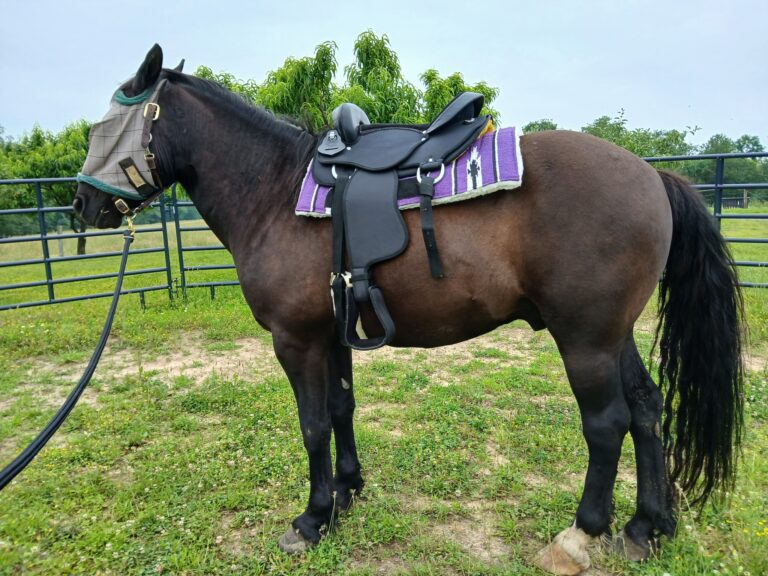
Gear that helps and gear that complicates
Helpful gear is safe, properly fitted, and easy to handle. A soft rope halter or a well-fitting flat web halter. A 12 to 14 foot lead that is not stiff and heavy. Whatever target your horse already understands is fine. A safe space also matters, somewhere you can step out, reset, and come back in without turning it into a chase.
What complicates things early is usually fit and feel. Halters that are too small. Nosebands that ride up into soft tissue. Stiff hardware banging the face. Reaching over the poll too soon. If your horse has any history of head-shyness, and most mustangs do at first, you want the halter experience to feel boring, predictable, and easy to understand.
The method, first touches to first buckle
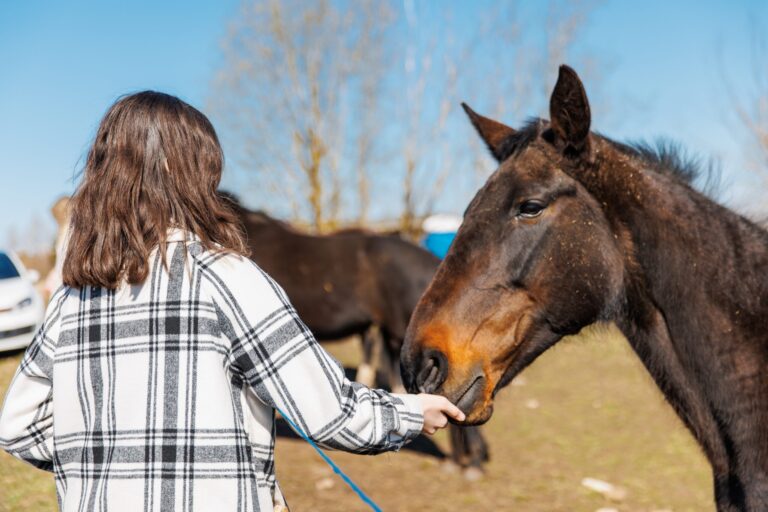
Step 1, my hand can exist near your face
This is not petting. It is proof of safety.
The goal is that you can bring your hand near the cheek or jawline without the horse feeling like he has to leave. If he tenses or leans away, you pause. When he softens, even a little, you leave. That release is the lesson. You are teaching that his choice changes what happens next.
If he leaves every time, that is information, not failure. Make the ask smaller. Start at the shoulder and walk your hand forward an inch at a time. Use the target to bring his nose toward you instead of you reaching toward his face. Keep sessions short enough that everyone remains engaged.
Step 2, touch becomes a cue, not a surprise
Now you make touch predictable. Same areas, same rhythm, same exit.
You might begin with shoulder touch, then release and reinforce. Then neck touch with a release and reinforce. A cheek touch, then release and reinforce. The point is not to overwhelm the horse until he gives up. The point is to show him that touch follows a pattern and ends when he can handle it. This is where mustangs start to relax, not because the world is suddenly safe, but because the world starts to make sense.
Step 3, nose in a loop without a halter
Before the halter ever appears, teach the concept that putting the nose through a circle is safe.
You can make a loop with your lead rope, use a soft neck rope, or hold a big open halter wide. Reward curiosity first, then reward the muzzle inside the loop, then reward the nose fully through. Then remove the loop like it is nothing. That removal matters as much as the loop itself, because it teaches that insertion is safe and removal is guaranteed. You’re not forcing anything.
Step 4, introduce the halter like it is just another object
Let the horse see it, sniff it, and target to it. Do not sneak it. Sneaking is for predators.
I like holding the halter in one hand and the target in the other so the horse can make the choice to engage. Reward calm while the halter moves around. Reward the horse for staying present. The goal here is simple. The halter does not predict pressure or capture. It predicts clarity.
Step 5, noseband on and off, no poll yet
This is the first wearing moment, and it should be short and boring.
Open the halter wide, guide the nose in with the target, slide the noseband into place, and then take it off again. Reward that. Repeat until the horse is offering the nose because the pattern makes sense, not because he feels like he has no other option. Short, frequent sessions are much more productive than one or two long, stressful sessions.
Step 6, poll approach without trapping
The poll is where many mustangs say absolutely not. So we treat it the same way we treated the face. Approach, pause, release.
With the noseband briefly on, lift the crownpiece an inch, reward, then remove the halter. You are teaching that the crownpiece moving near the ears does not mean the horse is stuck. If your horse throws his head, stop reaching and go back to earlier steps. When the nervous system spikes, the job is not push through. The job is make the ask smaller and more familiar.
Step 7, the first buckle
When you buckle for the first time, do it like you are going to do going forward, but don’t actually put the buckle prong through the hole (with a rope halter, don’t actually tie it off–just put the rope through the loop and hold it for a moment. At that point, release and remove. After doing this a few times, go ahead and fasten the halter (either type), and reward lavishly, using voice, pets or scritches, softening of your whole demeanor, and (if applicable) treats. Then take the halter off and quit for the day. Each session, increase the time the halter is on by a few seconds to half a minute. Soon, you’ll be able to start teaching the horse to give to pressure on the halter without panic–but that’s for another post.
Remember: noseband on. Crownpiece up. Buckle calmly. Reward immediately. Then unbuckle within a few seconds and take the halter off. Yes, quickly. Because the first lesson is not wear it forever. The first lesson is that he can trust the process and he will not be trapped.
What to do when your horse says no
A no is not disobedience. It is data. It looks like leaving, head up and locked, a tight mouth, a hard stare, or feet that will not settle. When I see that, I do not punish it. I lower the difficulty. I return to the last yes step and succeed there. I end the session on clarity instead of conflict because conflict is remembered by the horse a lot longer than a small success.
If anything escalates into striking, swinging hindquarters, or unsafe intensity, that is your sign to get experienced help in your space. Consent-based does not mean reckless-based.
How fast should this go
The timeline is the horse’s to set. Some horses go from first touch to first buckle in a few days to a week. Some take months. A wild-born horse with a hard history might take longer and still be worth it. Progress is not measured by how quickly the halter goes on. Progress is measured by how calm the nervous system stays while it happens.
The quiet win you are really after
The halter is useful. It opens doors. But the real win is what comes with it. Your horse learns you listen and do not trap them or lie to them. You make the hard thing smaller and easier, and you always show the way to succeed. That is the kind of training that becomes partnership instead of compliance.
And when you get that first buckle, when your horse stands there and breathes and does not feel like he has to leave, do not rush to the next step. Stand with him for a moment and just let him feel your relaxation and satisfaction.
A simple session plan you can copy
If you like structure, keep it short and repeatable. Start with a couple minutes of an easy yes behavior like targeting or head lowering. Spend a couple minutes on the face-touch pattern. Play the nose-in-loop game for a couple minutes. Do a minute of halter presentation, sniff and target and calm movement. Follow with a minute of noseband on and off. End with one easy win and walk away while it still feels good.
Please note that all training tips here are suggestions for a place to start. Keep in mind that all horses are different, and may react differently. It’s generally a good idea to make your first interactions with your new mustang (or any new horse that you don’t know) from protected contact for your safety, as well as that of the new horse.
Trail signs: Desert Line, Coast Turn, Devil’s Garden, Yellowstone Country, Montana Border, How to Follow Along
If you’re new here and want the bigger map of what Fading Hoofbeats is, start with Start Here.
If you’re here for wild horse country, where to go, what to expect, and how to visit respectfully, head to the Wild Horse HMA Guides Hub.
And if you want the day by day, miles, weather, camps, and what actually happened out there, follow the Trail Journals Hub.
So you want to adopt a mustang Here’s how
If this kind of training speaks to you and you’re thinking about bringing a mustang home, start with the official adoption pipeline and learn the options in your region. The Bureau of Land Management runs the Wild Horse and Burro Program adoption and sale process, including requirements, events, and the online corral listings. The U.S. Forest Service also places mustangs, and the Double Devil Wild Horse Corrals are one of the best-known routes for adopting a Forest Service horse.
BLM Wild Horse and Burro Adoption and Sale page.